If you can’t find the answer to your question below or in the FAQs then please contact us at support@stack.services
Key Information
Future Physiology 2021, ePosters and Learning Toolbox
The Physiological Society is using Learning Toolbox for the ePosters at their Future Physiology 2021 conference.
Learning Toolbox allows you to create a Stack of material that can be used to present and share your work online and onsite. At the simplest level you can just add a presentation or poster file to your Stack, but the platform allows you to do much more. Learning Toolbox Stacks can also contain additional materials such as videos, weblinks, papers and more. If you want your ePoster to be considered for the best ePoster prize then you should include a 5 minute video of you presenting your work as part of your ePoster. It is this video that the judges will be assessing.
Your stack/ePoster will be published to The Future Physiology ePoster Showcase where delegates can explore, view and interact with them. Delegates will be able to post comments and questions to your stack/ePoster in a text chat channel, which you can answer and this discussion will be attached to your stack/ePoster.
The Physiological Society have also arranged ePoster sessions as part of the Future Physiology 2021 programme. The ePoster sessions will involve 15 minute ‘virtual round table discussions’ where you will be able to present your ePoster and attendees will be able to ask you about your work. These will take place inside the conference platform.
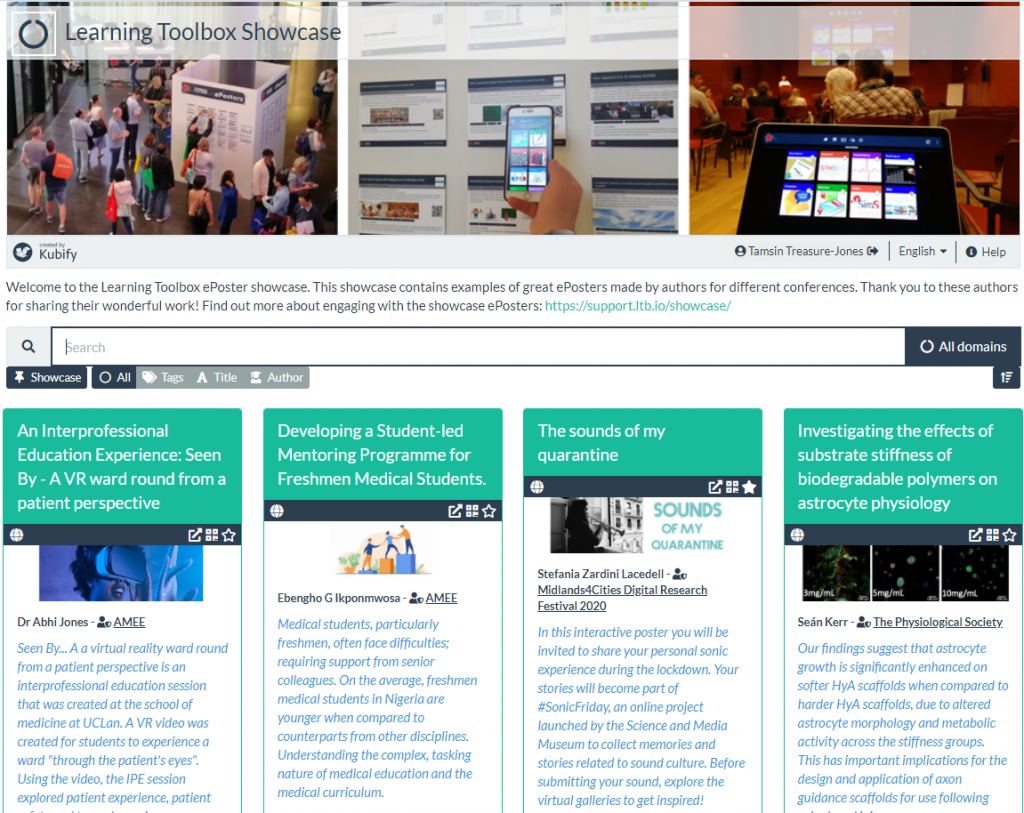
You can already explore The Future Physiology Showcase and see the ePosters from 2020 if you want to see what it is possible to create using the Learning Toolbox platform. We also have a Learning Toolbox Showcase of great ePosters from a range of different conferences.
The information below was emailed to all authors by the Future Physiology conference team.
Future Physiology 2021 Virtual Event Portal
We have been working with a company called EventsAIR to create the virtual event portal for Future Physiology 2021. On the virtual event portal, attendees can see the full conference programme, interact with the different sessions, and connect with one another.
You will receive an email on Tuesday 13 April with further information about the conference which will include instructions to access the portal and how to use it.
ePoster Sessions
The ePoster sessions will take place on the Future Physiology 2021 Virtual Event Portal.
Your 60-minute ePoster session will be split into four 15-minute presentation slots, giving you the opportunity to present your ePoster to up to four different groups of people. You will be visible to attendees and will be able to share your screen. Attendees will not be visible but they will be able to speak to you. There will also be a link to your ePoster available to attendees, which they can have open during your presentation. Please ensure that you are on the virtual event portal, ready for your ePoster session at least 10 minutes before the session is due to start.
*TOP TIP* Use the Meeting Hub on the virtual event portal to connect with other attendees and invite them to join your ePoster session. You can use the Meeting Hub as soon as you have access to the portal so you can start connecting before the conference! More information about how to use the Meeting Hub will be found in the email sent on Tuesday 13 April.
The step-by-step actions that you should take on the day of your ePoster session are as follows:
1. Access the virtual event portal at least 10 minutes before the ePoster session is scheduled to take place.
2. 10 minutes before your ePoster session is due to begin, locate your allocated ePoster session in the timeline and click the ‘View My Presentation’ button next to the ePoster session.
3. You have now entered your ePoster presentation area. You should see the name of your ePoster at the top of the page, a Q&A panel, a polling panel and list of drop-down boxes on the right-hand side.
4. If you enter your ePoster presentation area before the ePoster session is due to start, there will be a button on the left-hand side which reads ‘Start Practice Presentation’. You can use this to test your camera and test screen sharing before the ePoster session starts. Attendees will not be able to view this.
*TOP TIP* You can use this practice mode as soon as you have access to the virtual event portal so feel free to familiarise yourself with the ePoster presentation area in advance of the conference so that you feel comfortable on the day.
5. Once the ePoster session starts, the ‘Start Practice Presentation’ button will change to a ‘Start Presentation’ button. Please click this button so that the attendees can view your presentation. This will also start a countdown timer for the first 15-minute presentation slot.
6. Before you begin presenting, you will see a drop-down box named ‘Queue’ on the right-hand side. This shows a list of attendees who are waiting to join your presentation. Click on this drop-down box and press the ‘Accept’ button on those who you want to admit. We recommend that you only admit approximately five attendees at a time. You can also use the ‘Accept all’ button if there are less attendees in the queue. They will then move into the ‘Attendee’ drop-down box. On admittance, attendees will not be visible but they will be able to talk.
7. You can now begin your ePoster presentation. Please remember to allocate time for questions. Attendees have two options for submitting questions; they can either ask a question out loud or they can type a question in the Q&A panel.
*TOP TIP* When sharing your screen during your ePoster presentation, it might not be possible for you to see the event portal and therefore, see how long you have left until the end of each of your 15-minute presentations. If you are concerned you may run over time when presenting, you may want to set a timer on another device. This will allow you to keep an eye on the time whilst sharing your screen. Please remember you should allocate time for questions within the 15 minutes.
8. There will be a 10 second countdown before the 15-minute presentation slot ends. After this countdown, the attendees will automatically leave your presentation area. You do NOT need to leave your ePoster presentation area. Instead, you will need to repeat Step 6 and admit the next group of attendees for your second 15-minute presentation slot.
9. Repeat for your third and fourth 15-minute presentation slot.
10. At the end of your fourth presentation slot, the ePoster session will automatically end. You will now see a message saying ‘Session ended. This presentation has now finished.’ You can return to the timeline and enjoy the next session.
You can find a video showing how the eposter session functionality on the virtual event portal works here. If you have any queries about this video, please do not hesitate to get in touch with the conference team.
Please note that abstracts not presented at Society Meetings will not form part of the final online published proceedings.
The following dates are important for 2021 authors:
- 25th March – Invitation emails sent from Learning Toolbox to ePoster authors
- 29th March at 1pm BST – Webinar for authors
- 11th April DEADLINE – Finalise your stack/ePoster and mark as ready to print and publish
- 12th April – 2021 ePoster Showcase opens
You can view the webinar recording below. If you want to view it full screen then click on the full screen icon at the end of the Play bar.
Here you can find links to the key emails that we have sent to Future Physiology 2021 ePoster support list.
General Overview
Learning Toolbox supports an exciting new approach to ePosters (and more generally content sharing) at online, hybrid and onsite conferences and events.
Using Learning Toolbox you will create a Stack/ePoster (a collection of material that could include a presentation, video, weblinks and more) that you can use to present and share your work at the event.
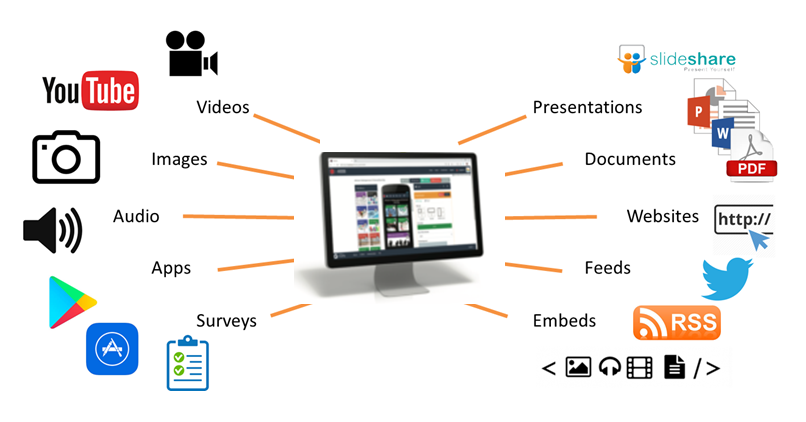
People will be able to easily view and interact with your ePoster by browsing the online ePoster showcase. Your ePosters will be available for people to explore throughout the event and can also be presented in a scheduled session if your event supports this.
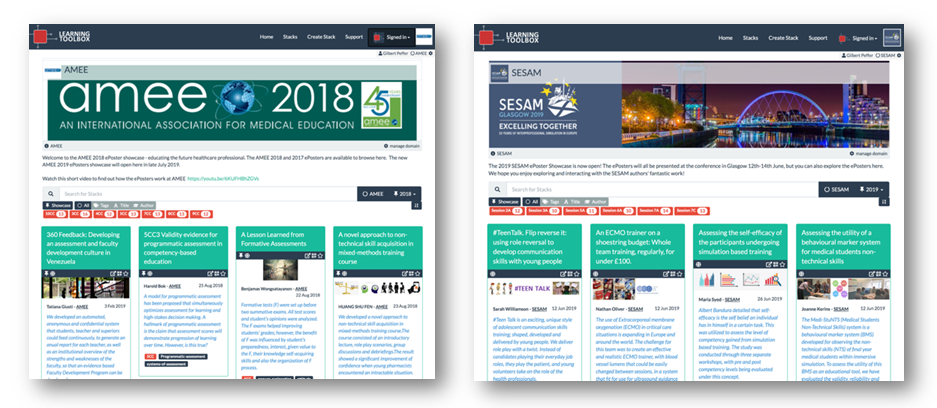
Viewers can open your ePoster and explore all the rich content you have added. Viewers can also post questions or comments to your ePoster, to which you can respond. This text chat discussion will be attached to your ePoster and can continue after the event. Viewers can also favourite your ePoster so that they can return to it more easily.
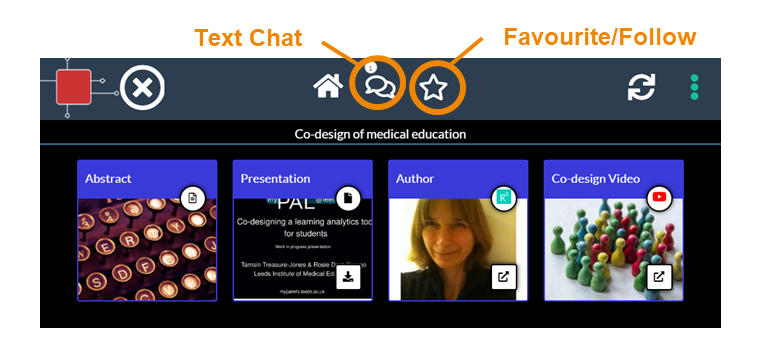
Your ePoster will also live beyond the event, as you can continue to share it and (in some cases) even add to it after the event.
Your ePoster can even have a physical presence in the real world. Within Learning Toolbox you can create a summary poster that acts as an advert for and gateway into your interactive ePoster. People can simply scan the QR code on the summary poster and your interactive ePoster will open on their phone/tablet.
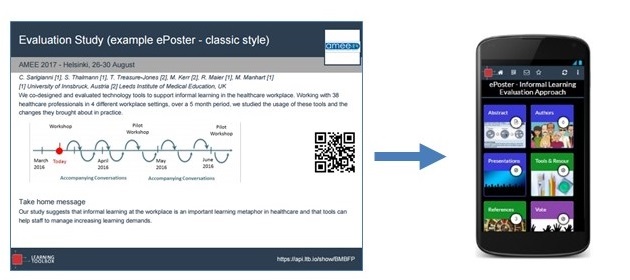
Some onsite and hybrid conferences print these summary posters and use them as a way of promoting the ePosters onsite. You can of course print the summary poster yourself and use it wherever you want to promote your work and provide access to it.
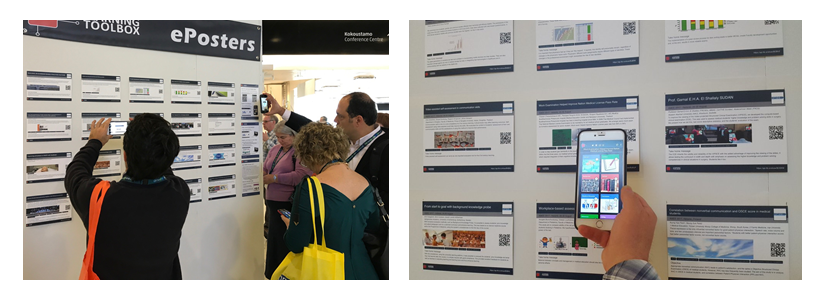
Many conferences are now using Learning Toolbox to present, share and discuss research. We have seen some great examples of ePosters/stacks created by authors attending these conferences. The 3 minute video below explores some of the great ePosters made by authors using Learning Toolbox.
If your country does not allow access to the Vimeo video streaming service then you can access this video here instead.
You can see and interact with these great ePosters (and more) on the Learning Toolbox Showcase. These ePosters are live and still being used by authors to present and share their work. You will see that they vary in terms of what content they include and how they are structured, but they have all made great use of the platform to present their work.
Of course your own ePoster/stack does not need to be as sophisticated as these examples – a simple and effective ePoster/stack may just contain the abstract, a presentation and a link to a website for example. But we hope these examples may give you an idea of what is possible and some ideas of the type of material you could include to give people a richer view of your work.
We would like to thank the authors of these ePosters/stacks for agreeing to their excellent work being showcased here. If you have come across any brilliant Learning Toolbox ePosters that you would like to see added to this showcase then please let us know so that we can contact the author and ask for their permission to add them.
Thousands of ePoster authors are using Learning Toolbox to share and present their work at conferences and events. The ePosters can be as simple as an uploaded PDF file, but can also include more interactive and engaging material, as well as background information.
Below are short videos with 4 of our authors in which they talk about what they chose to include in their ePosters. Thank you very much to Amy, Komal, Nathan and Sytske for making these videos. We hope they inspire and help new authors.
Quick overview of what Amy, Komal, Nathan and Sytkse found useful about using Learning Toolbox
This 5 minute video highlights what Amy, Komal, Nathan and Sytske found most useful about using Learning Toolbox. It helps to show the different ways in which authors and conferences are using Learning Toolbox to help present and share research work effectively.
If your country does not allow access to the Vimeo video streaming service then you can access this video here instead.
Amy Creaser’s ePoster for Future Physiology
Amy gives a short introduction to her work (on wearable activity trackers use by children and adolescents) and shows us her ePoster. In the ePoster tour Amy explains what she chose to include in her ePoster and why. The ePoster tour starts at 2:10
If your country does not allow access to the Vimeo video streaming service then you can access this video here instead.
Komal Atta’s ePoster for AMEE
Komal gives a short introduction to her work (on the impact of social media on professional identity) and shows us her ePoster. In the ePoster tour Komal explains what she chose to include in the ePoster and why. The ePoster tour starts at 2:20
If your country does not allow access to the Vimeo video streaming service then you can access this video here instead.
Nathan Kucko’s ePoster for NASS
Nathan gives a short introduction to his work (on developing a bone graft for spinal fusion surgery) and shows us his ePoster. In the ePoster tour Nathan explains what he chose to include in the ePoster and why. The ePoster tour starts at 2:03
If your country does not allow access to the Vimeo video streaming service then you can access this video here instead.
Sytske Lub’s ePoster for AMEE
Sytske gives a short introduction to her work (on science communication when talking about genetics) and shows us her ePoster. In the ePoster tour Sytske explains what she chose to include in the ePoster and why. The ePoster tour starts at 4:06
If your country does not allow access to the Vimeo video streaming service then you can access this video here instead.
Creating an ePoster/Stack
This video gives you a very quick introduction to Kubify’s Learning Toolbox and shows you how to make an ePoster stack. We recommend that you play this video in full screen.
Press the full-screen icon ![]() at the end of the play bar to play in full-screen.
at the end of the play bar to play in full-screen.
If your country does not allow access to the Vimeo video streaming service then you can access this video here instead.
This video is a longer introduction to Learning Toolbox which shows a fuller ePoster being created.
Press the full-screen icon ![]() at the end of the play bar to play in full-screen.
at the end of the play bar to play in full-screen.
If your country does not allow access to the Vimeo video streaming service then you can also access the video here.
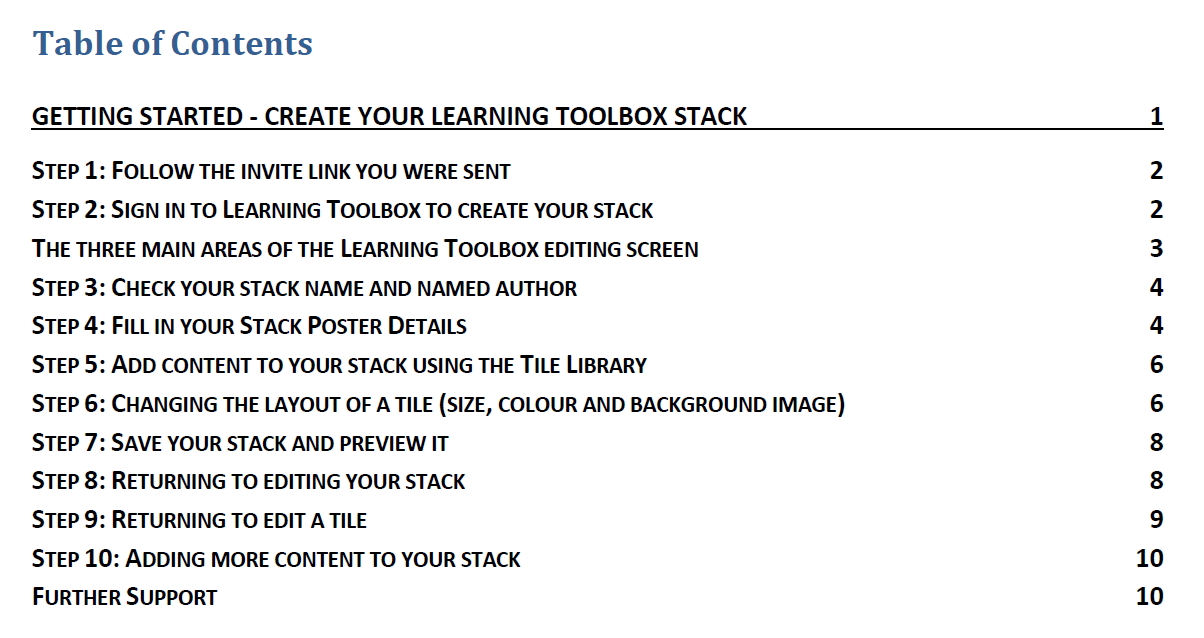 We know that some people prefer to follow a written guide, so we have produced this short guide that takes you through the key steps involved in making a simple ePoster/stack for a conference.
Getting started – Create an LTB stack for a conference v2.0 (updated 23rd May 2020)
Answers to Frequently Asked Questions (FAQs)
You can find answers to more detailed questions on the FAQ page or by pressing the in-line help button (?) in the interface next to the item that you want to know more about.

