If you want somebody to be able to create stacks in your domain, you have to add them first. If you have stacks that are only accessible from within the domain, you need to add the users that need to be able to view the stack to the domain first.
Note: Users of anonymous stacks (i.e. stacks that are publicly accessible) don’t need to be registered in your domain. They can access these stacks even without logging into the Learning Toolbox.
There are two ways you can add a user to your domain: a fast one, using a domain invitation, and a slow one, adding them manually by their email address.
Add users via a domain invitation (fast)
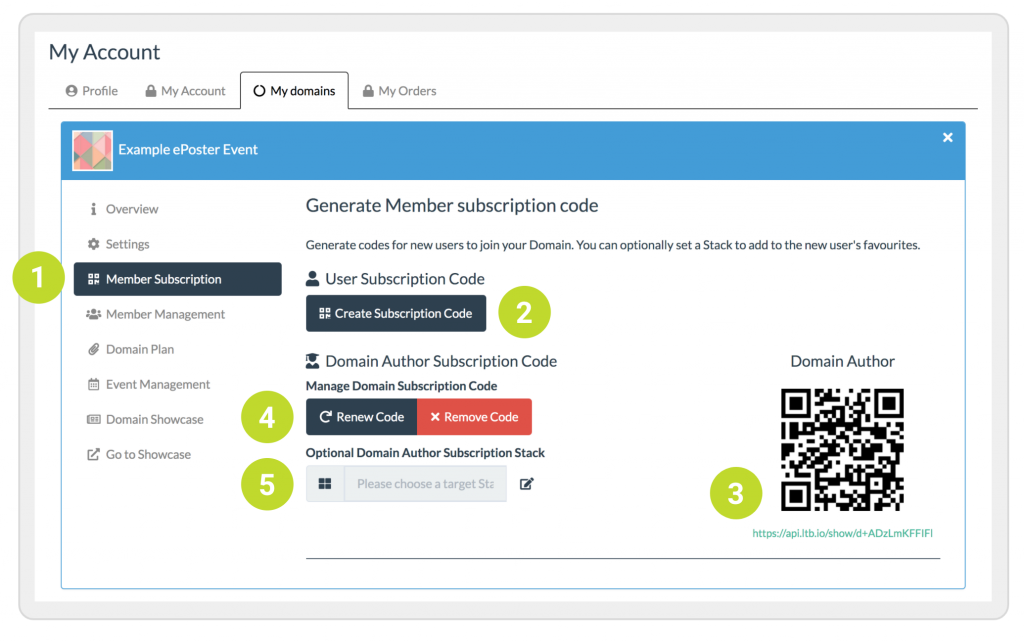
1. Go to the domain admin panel. In the left navigation panel, click on Member Subscription.
2. Click Create Subscription Code for users or for authors. The User code will add people scanning the code to the domain as a regular user. The Author code will add them to the domain as a domain author. In the screenshot below, only the author code has been generated.
3. This generates a QR code and a link that you can give your prospective users or authors. When they scan the code or click on the link, they will be asked to create a Learning Toolbox account and are then automatically added to your domain.
4. You can renew the subscription code at any time, which invalidates the previous code and link. You can also delete the subscription code which will invalidate the QR code and the link.
5. You can optionally select a User/Author Subscription Stack from your domain that will open once the user or author has created their account or scanned / clicked on the subscription code / link.
6. You can now put up the QR code on a wall for people to scan or send them the subscription link for instance via email or Whatsapp.
Add users manually (slow)
1. You first need to tell your user(s) to create an account in Learning Toolbox.
2. They should then provide you with the email address they used to create their account.
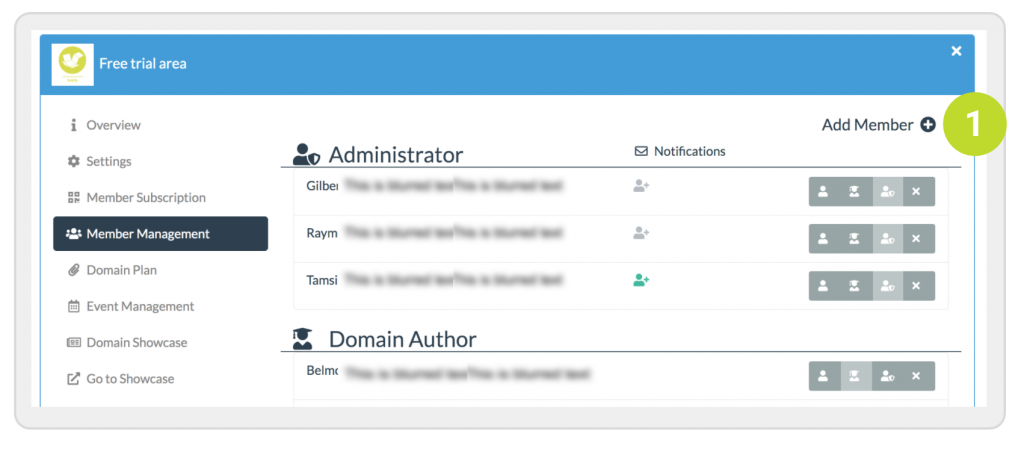
3. Go to the domain admin panel and click on Member Management.
4. Click on the plus sign (![]() ) in the top right (1).
) in the top right (1).
5. Add the email address of your user and click on the tick (2).
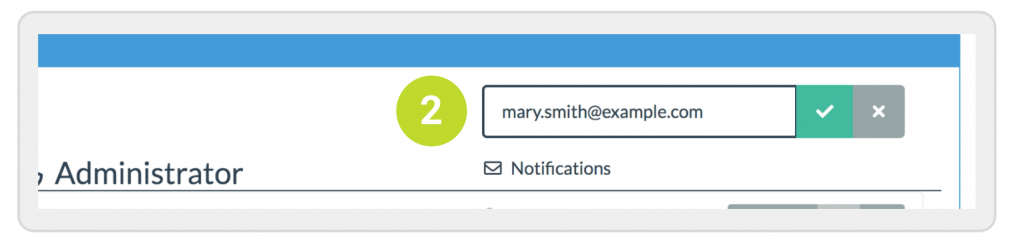
6. The email address has now been added under “User”, at the bottom of the list. You can change the user role and delete the user with the four buttons (![]() ) to the right of the username and email address.
) to the right of the username and email address.
7. You need to add each user individually in this way.