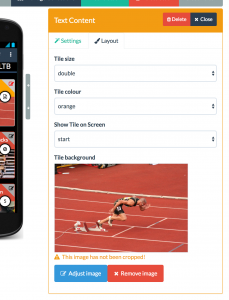
The ten tile types have the same layout and style options. When you edit a tile in the stack edit mode by clicking on the small grey icon in the top right corner of the tile, a properties widget opens to the right that has two tabs: Settings and Layout. The fields in the Layout are the same for each tile type, while those in the Settings are different – see the entries under the menu item “Tile settings” of this online guide.

There are four layout options
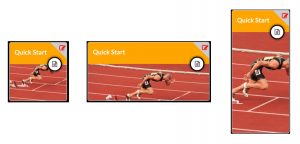
- Tile size: You can choose three tile sizes from the dropdown. Normal creates a square tile; double a tile that is twice as wide as the normal tile; and double down a tile that is twice as high as the normal tile.

- Tile colour: The background colour of the title area of the tile. Currently you can choose between orange, red, blue, purple, green, and black.
- Show tile on screen: Picking a screen from the dropdown will move the tile to that screen.
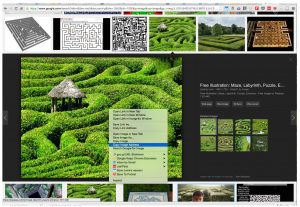
- Tile background: This is a very nifty feature for quick tile decoration. Here you add a link to an image on the internet and it will appear in the lower half of the tile. This feature allows you to make your screens look very nice in little time. You can get commons licensed photos for instance in Google (under “Search tools > Usage rights”). When you found a picture you like, right-click and select “Copy image address” and copy it into the “Tile background” input field. In some rare occasions, the image won’t get picked up by the tile.

