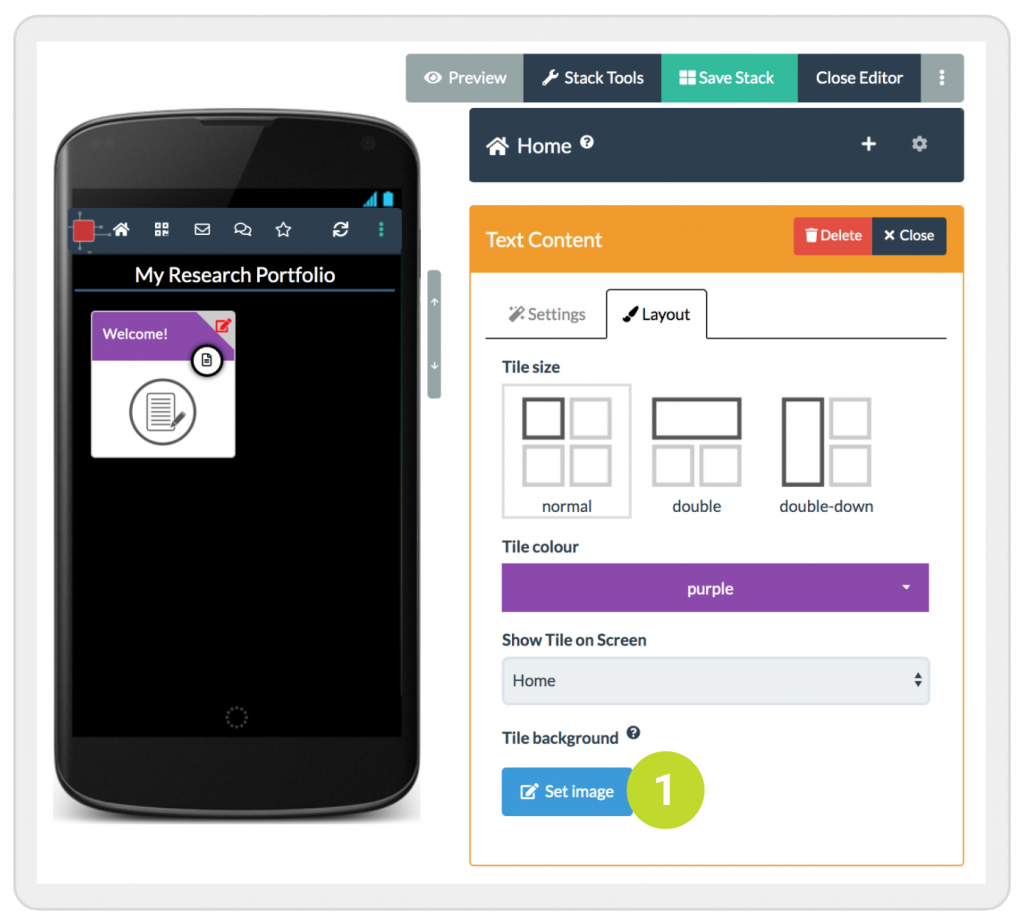
1. Click on the Set Image button. You can find this button in the Layout tab, except for the File and Online Content tiles, where it appears in the Settings tab.
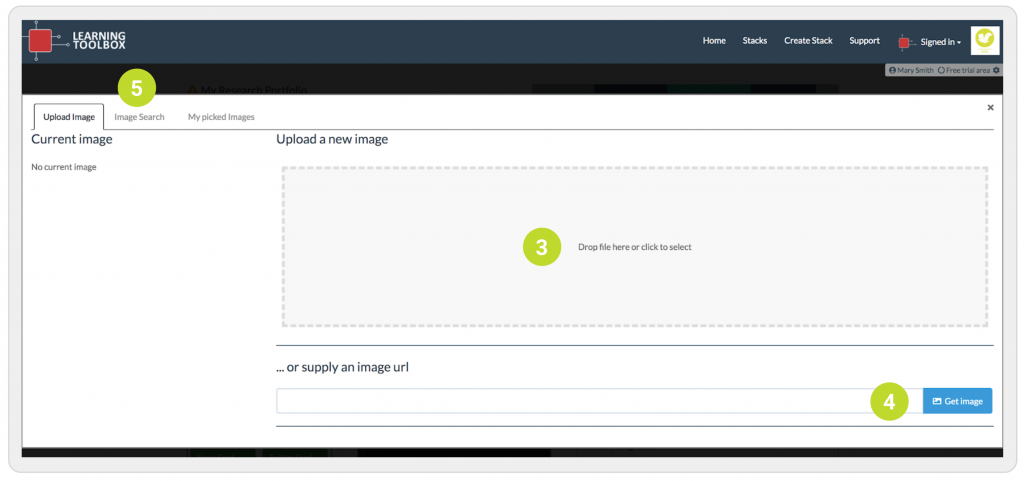
2. This opens the image picker. There are three ways in which you can add an image.
3. You can upload an image from your computer by clicking on the grey rectangle and following the instructions.
4. You can provide a link to an image on the web and click on Get image.
5. Or you can select an image from the Pixabay repository of copyright free images by clicking on the Image Search tab. This is the method we are going to use here as an example. Read on below.
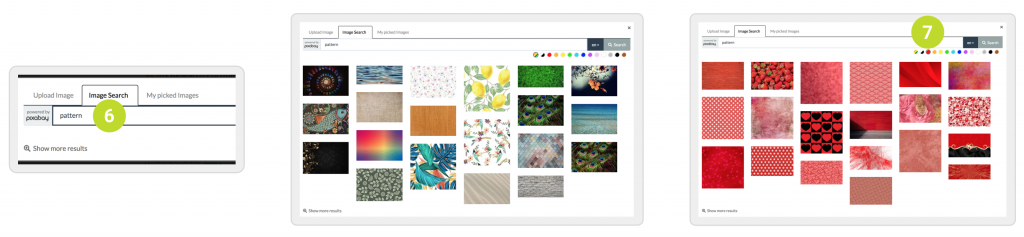
6. After you’ve clicked on Image Search, type a word, for instance ‘pattern’, into the search box and hit return.
7. Select the colour red to get red patterns to match our tile colour.
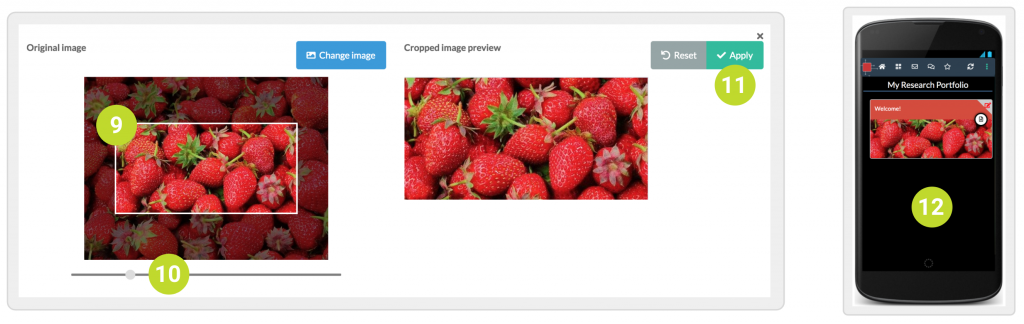
8. Click on any of the images to open the image editor where you can crop and resize the image.
9. You can crop the image by dragging and moving it so that the area you want appears within the focus area.
10. You can resize the image by using the slider.
11. Click on Apply when you are happy with the image preview. Be aware that you will lose the top section of the image as this will be covered by the tile title bar. Tip: to show the full image on the tile, you can hide the tile title bar by leaving the title field in the tile settings blank.
12. The image has now been added to the tile. Don’t forget to save the stack.