The information you provide in the Stack Summary area is used to create the summary view of your stack. This summary view is used on the the showcase. It can also be used to create a printable summary poster for your stack. Onsite conferences often print these summary posters and display them onsite helping to promote your ePoster / stack to delegates.
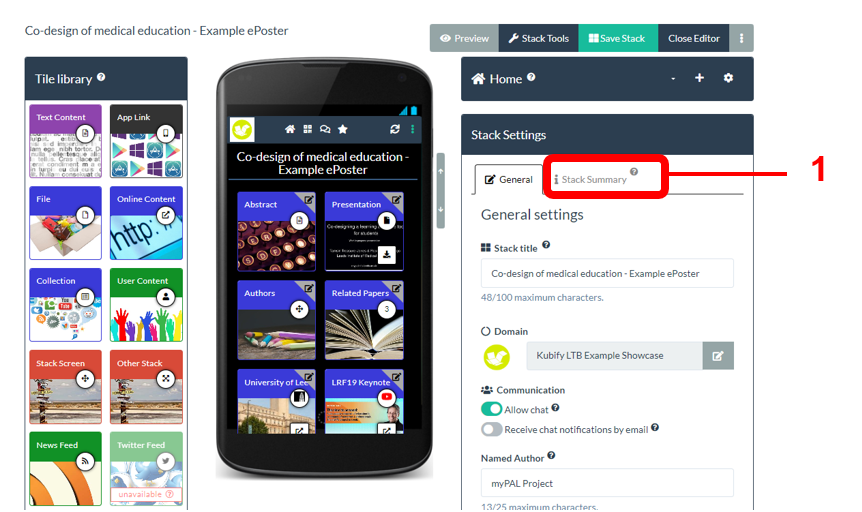
1. Edit your stack and click on the Stack Summary tab.
Enter all the information requested in the Stack Summary area.
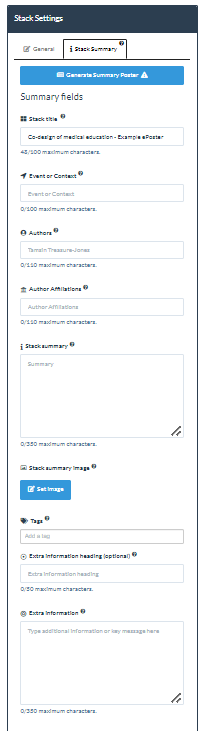
Stack Title: The title of your stack.
Event or Context: If you are creating this for an event then this information will already have been filled in by the event organiser.
Authors: Your name will already appear here, but you can also add your co-authors names. There is limited space (110 characters) so you may need to use only last names (e.g. Jones and Elferink instead of Tamsin Jones and Raymond Elferink). If your list of co-authors is very long then you could choose to use the academic convention et al (e.g. Jones et. al.) and then make sure that you do include all the co-authors names within the main content of your stack.
Author Affiliations: List where the co-authors work.
Stack Summary: Give a summary of your work. This summary text will appear in the summary view or your stack in the showcase and on the printable summary poster for your stack.
Summary Image: Click on the Set Image button to add an image to illustrate your stack’s summary. This image will be used in the summary view of your stack on the showcase and on the printable summary poster. The space available for the image is a wide rectangle.
Tags: Add any tags that help people to find your work. We recommend adding a maximum of 10 tags.
Extra Information Heading: If you want to include some extra information (such as Key Messages or Conclusions) to be added to the printable summary poster then add a heading for that extra information here.
Extra Information: Type in your extra information here if you are using it. This information will only appear on the printable summary poster.
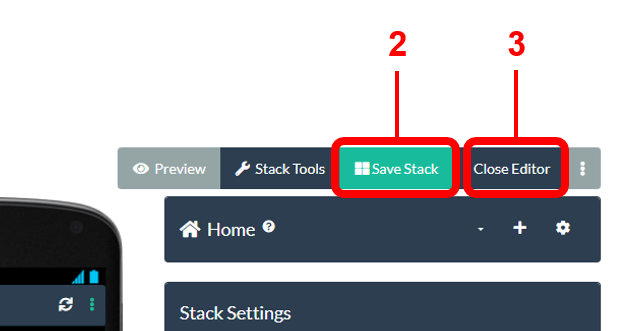
2. Remember to Save when you have added all your summary information.
3. You can then Close the Editor to see the results of the information you have added.
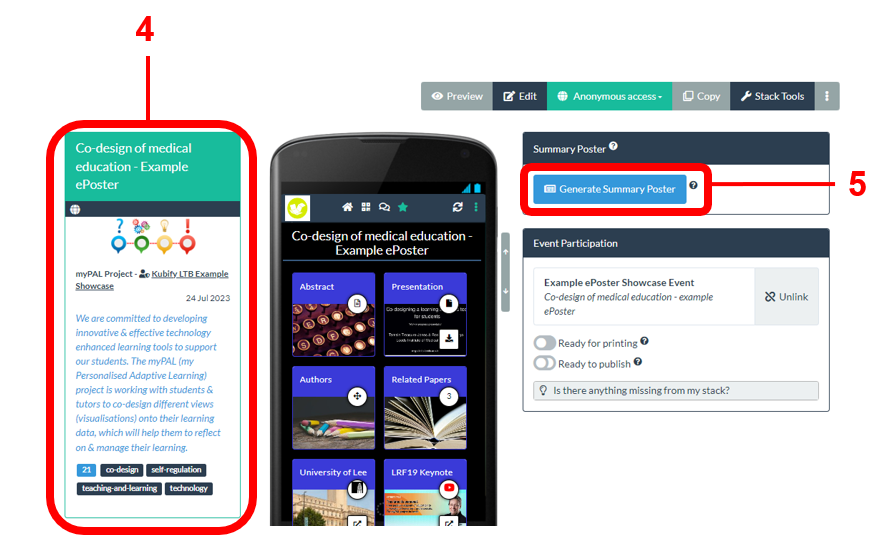
4. You can now see the summary view of your stack. This is how it will appear when viewers are browsing the showcase. When they click on its title then it will open to show them the contents of your stack.
5. You can also generate and view the printable summary poster for your stack.
If you want to make changes to either then just return to edit your stack and edit the information that you provided in the Stack Summary area.